Moog.thetunagroup.com
☰
Home
Aanews
Aanewss
Aanewsss
Aanewssss
Sitemap
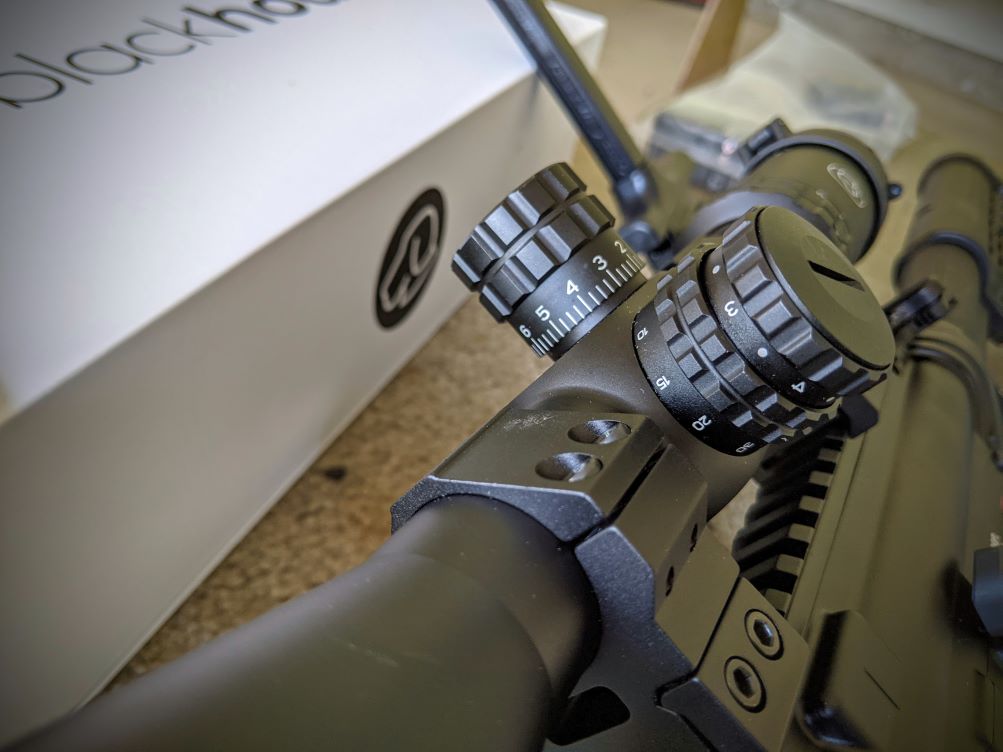
Understanding MOA and MILS A Comprehensive Guide to Precision Shooting(03)
Save Image
Image Gallery from:
Target Rigs: Your Ultimate Guide To Precision Shooting